
TOC
Table of Contents
Having multiple gateways integrated into your Salesforce allows for numerous benefits. Simplified dealing with failed payments, retry options, global presence, and whatnot.
While to realise these benefits, you must ensure careful and accurate setup of different gateways in Salesforce.
When done manually, it persists data migration challenges between gateways, dependence on Salesforce expertise, and increased vendor dependency.
But with CharegOn, you just need to install it and perform mild configuration. This guide will help you integrate multiple payment gateways in Salesforce.
Let’s get started!
How to set up multiple payment gateways in Salesforce?
Follow the steps carefully to realise the benefits of multiple payment gateways in Salesforce.
Step 1. Install ChargeOn
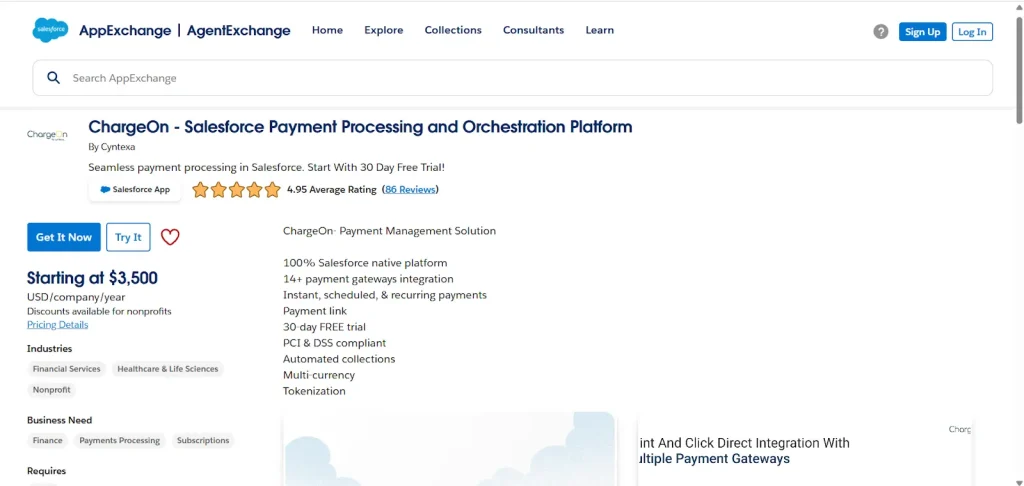
- Go to AppExchange
- Search for ‘ChargeOn’ or directly click on this link.
- You can start a 30-day trial by clicking ‘Try It’. Alternatively, to access the full product, click ‘Get It Now’.
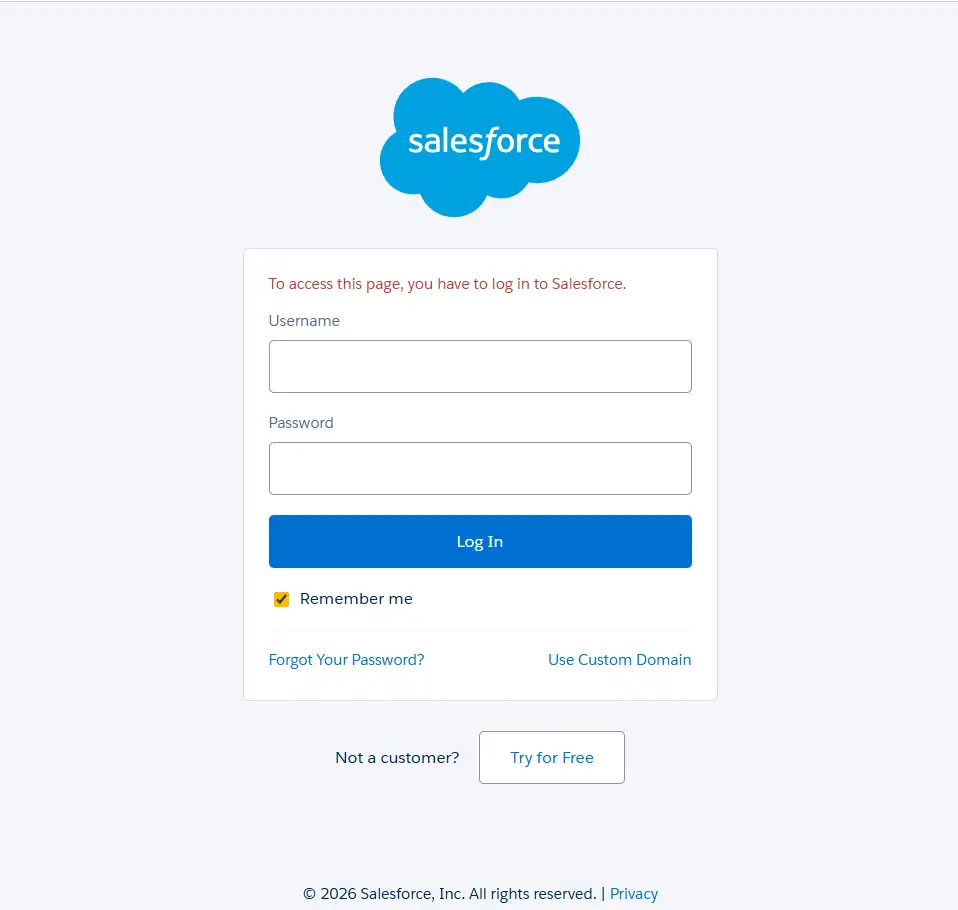
- The next window allows you to access it through Trailblazer or continue as a guest.

You can also avail the product by connecting with the ChargeOn team.
Step 2. Configure ChargeOn in Salesforce
- Log in to your Salesforce Developer Org.
- Assign permissions as per your requirements. Assign them to either:
- All your users
- Only to your admin
- Or for a specific user(s)
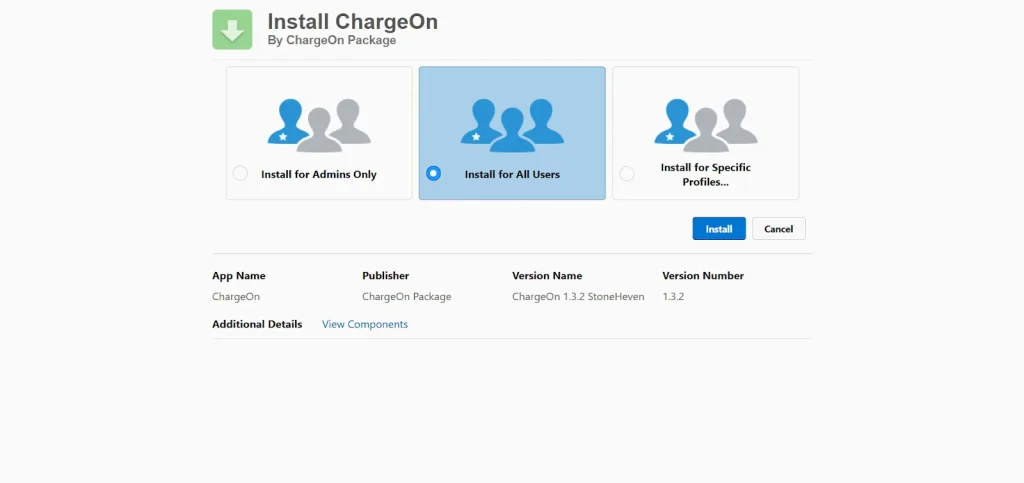
- Wait for a few minutes for the package to get installed.
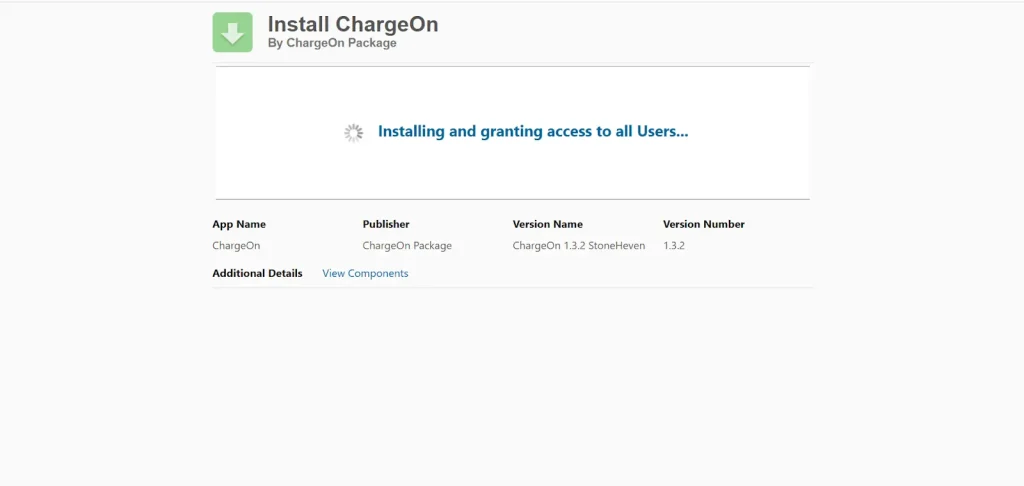
- After completion, you will see a confirmation message on your dashboard. Additionally, you will receive a confirmation of the package installation.
- Click on ‘Done’
Your ChargeOn package is successfully installed in your Salesforce.
Step 3. Post installation configurations
Before you move on with these steps, ensure that you have followed the prerequisite steps.
This guide helps you in:
- Assigning appropriate permissions to relevant users
- Configure and set up ChargeOn
Step 4. Access ChargeOn dashboard
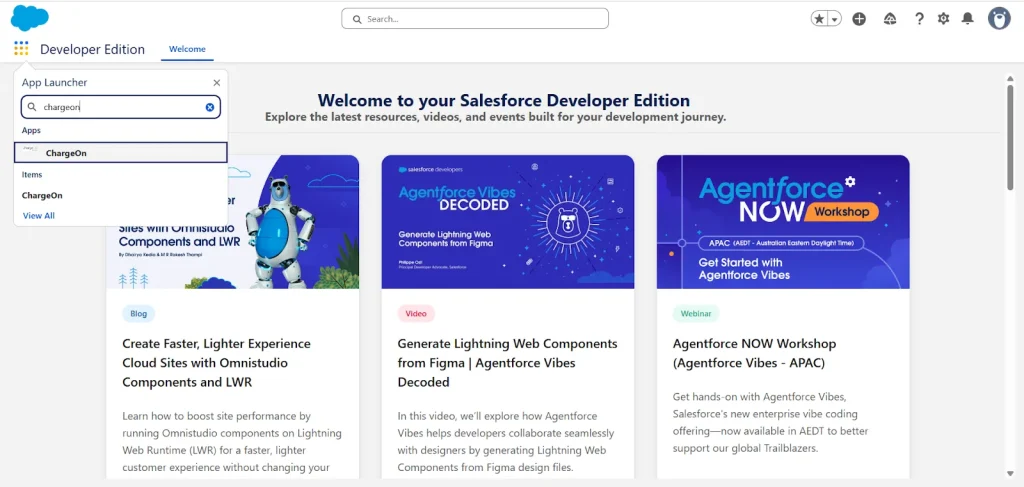
- On the left-hand side, click on the App Launcher icon and search for ‘ChargeOn’.
- Click on ChargeOn.
This is what your ChargeOn dashboard will look like:
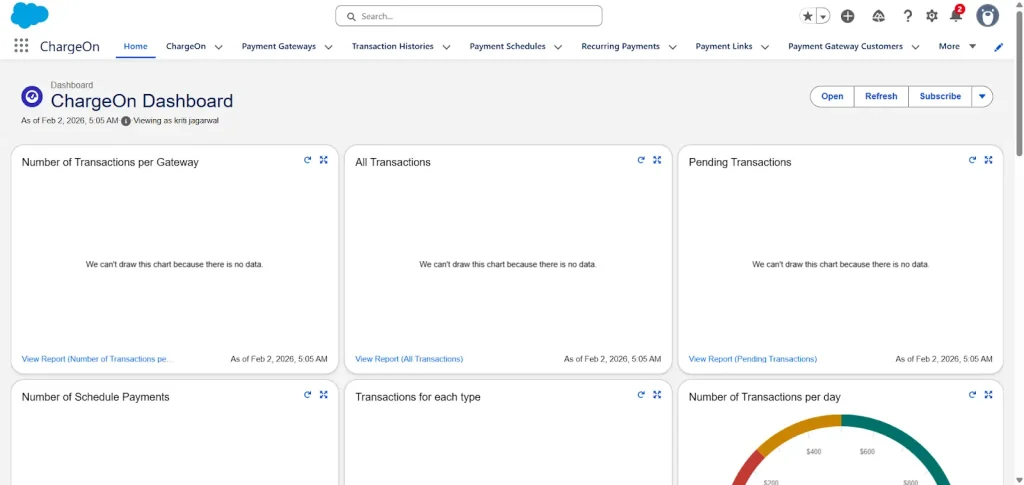
The ChargeOn dashboard gives you access to multiple features and tabs, such as:
- Payment Gateways Tab to manage and configure all your integrated gateways.
- Transaction History Tab to look into every transaction and its details. These details include:
- Name of the payer
- The mode of payment
- The time of payment
- The gateway through which payment was received, and much more.
- Payment Schedules Tab shows all the payments that you have scheduled for future dates.
- Recurring Payments Tab shows and manages all the subscription-based payments.
- Payment Links Tab gives you a unified view of all the payment links, allows you to create new ones and manage them.
Step 5. Configure your preferred payment gateway
- Make sure you have created a business account with the payment gateway provider.
- You should perform the initial setup, assign permissions, and access credentials to sync with the relevant payment gateway and ChargeOn.
Refer to individual payment gateway setup pages on our homepage. You will get in-depth technical steps to configure different payment gateways.
With just a few clicks, your Salesforce-powered business is ready to receive payments across every payment platform.

In case you face any issues, you can connect with our ChargeOn experts, who are available to transform your every challenge into a feasible solution.