
Razorpay Salesforce integration limitations
- Razorpay connector is a beta service. You get "as-is" terms, and Salesforce itself recommends using it cautiously, given the risk of bugs or breaking changes without notice.
- You need ‘MuleSoft for Flow’, an integration add-on, just to get started, while also making another paid purchase for API access on top of that.
- This integration is built exclusively for Razorpay. Therefore, switching to another payment gateway or running multiple gateways requires rebuilding your entire setup from scratch.
- The connector only offers Capture Payment, Create Refund, and similar functionalities. Beyond that, if your use case requires any Razorpay functionality outside that predefined list, this connector simply cannot support it.
- Network errors, out-of-order events, or domain changes can cause retries. Without validation, the data might get lost or mismatched.
But in ChargeOn, all these limitations are taken care of and beyond them as well!
How does ChargeOn resolve Razorpay Salesforce integration challenges?
ChargeOn is a 100% Salesforce native payment processor and orchestration tool. It offers a centralized view of all your payments in Salesforce, bringing data from Razorpay and Salesforce together.
ChargeOn provides prebuilt flows for one-time and recurring payments, reminders, retries, and payment links. Additionally, it offers tokenization, PCI DSS-compliant processing, and secure data flows with a failover backup mechanism.
Step-by-step Razorpay Integration with Salesforce using ChargeOn
This guide helps you in:
- Assigning appropriate permissions to relevant users
- Configure and set up ChargeOn
Note: Screenshots and details may differ based on your gateway version.
Access to an active Razorpay gateway account
- Go to Razorpay and Click on Get Started or Sign up with G Suite.
- Create the account by clicking on this link
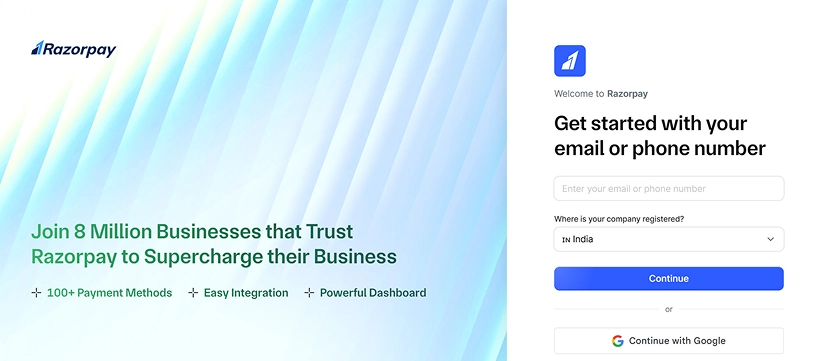
- Enter the details that are required and complete the KYC-related information using your government IDs
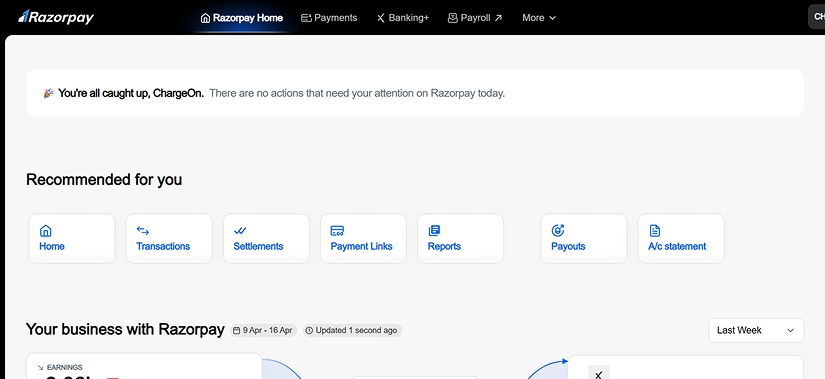
- Post account creation and verification, log in to Razorpay’s dashboard using your username and the newly created password (test for Sandbox, live for live environment)
- You get a personalized Razorpay dashboard to access different actions and services
Technical steps start here:
Step 1. Log in to the Portal
- Go to the Razorpay login page
- Sign in using your credentials
Step 2. Enable Test Mode
- Navigate to the Payments tab
- Click on the user profile in the top-right corner

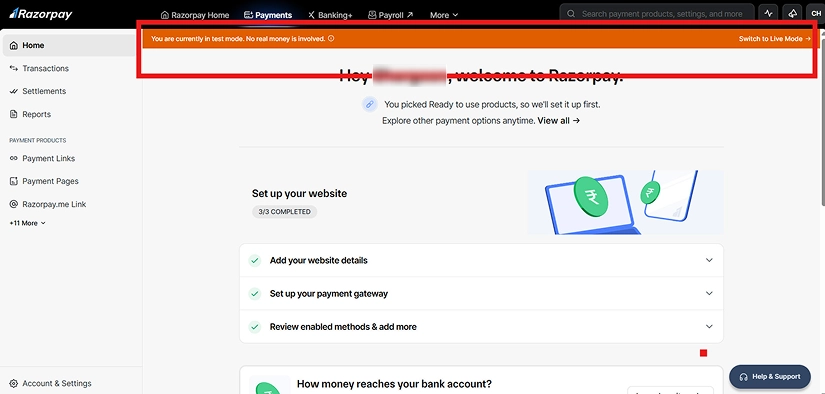
- Click on Enable Test Mode
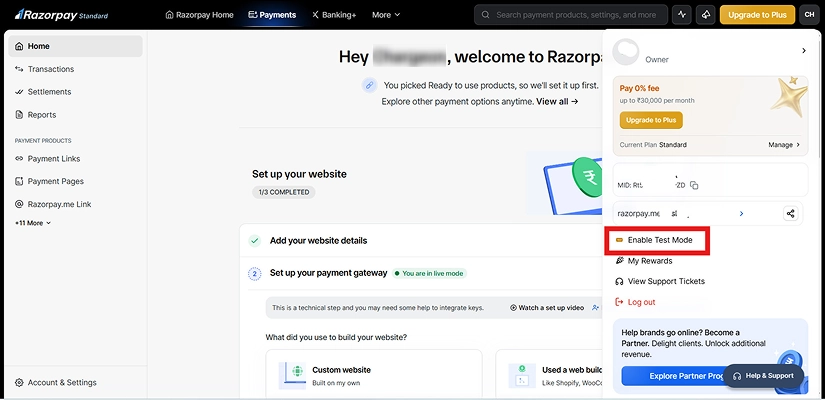
- A notification pops up reminding you of the mode you are currently using
Step 3. Get the API Key
- After enabling the test mode, navigate to the Accounts & Settings section in the bottom-left corner
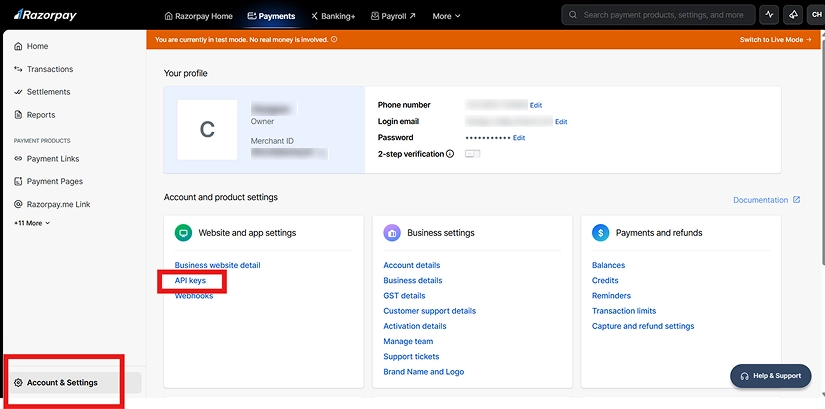
- Click on API keys under website and app settings
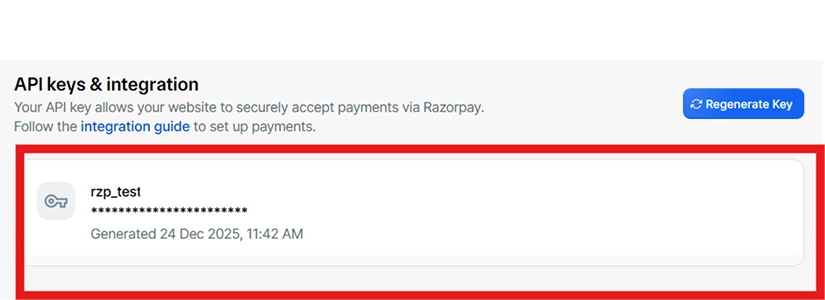
- Copy the generated key
- In case the key is not generated, click on the Regenerate Key button
Step 4. Save and Share Securely
- By now, you have obtained the Secret Key
Create your Razorpay gateway record in Salesforce
- Click on the App Launcher (9-dot icon)
- Search for ChargeOn.
- Click to open the ChargeOn application.
- From the ChargeOn app navigation bar, open the Payment Gateway tab.
- Click New to create a new Payment Gateway record.

- In Select Gateway, choose Razorpay from the dropdown.
- Under Select Payment Method, move the following options from Available to Selected:
- Instant
- Schedule
- Recurring
These define how payments can be processed using this gateway.
- Under Select Payment Types, move the following options from Available to Selected:
- Razorpay
This enables payment links for Razorpay.
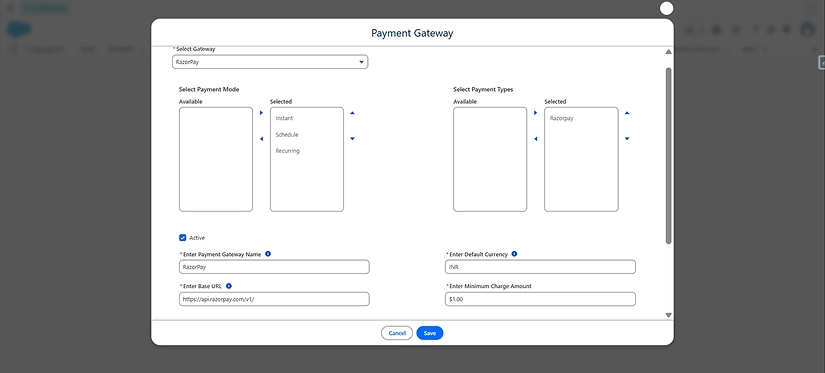
- Fill in the required fields as follows:
- Payment Gateway Name
- Gateway
- Default Currency: USD/IND
- The supported currencies: Refer to this document
- Base URI: https://api.razorpay.com/v1/
- Minimum Charge: $1
- Use the apitest URL for sandbox/testing.
- Replace with the production URL when configuring live payments.
Step 7: Add gateway credentials
- In the Gateway Credentials section, add the following key-value pairs:
- Credential
- Key: Client_id
- Value: {your Client_id}
- Key: Client_Secret
- Value: {your Client_Secret}
- Credential
Step 8: Review all details carefully and click Save
The Razorpay Gateway is now configured and ready for use in ChargeOn.
Test your transactions in a Salesforce Sandbox
You can test your integration in multiple ways.
We are sharing one of the simplest ways to test the same using Razorpay payments.
Razorpay Payments allows you to make payments using a payment link.
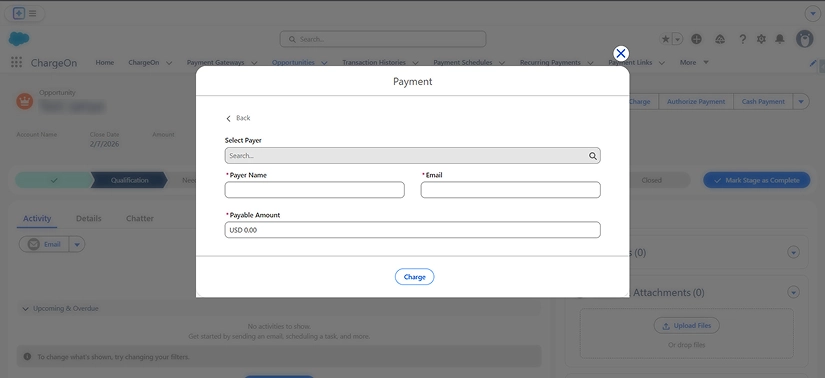
- Selects the payment gateway to start the payment process.
- Once the gateway is chosen, select Razorpay as the payment method.
- Choose the payment mode: instant, schedule, or recurring payment
- Enter basic personal details, such as Payee Name, Email, and Payable Amount
- Click the Charge button to submit the payment
Prepare to go live in production
After the testing is completed in the Sandbox, the configuration can be migrated to the production environment:
- Refer to this Document
- Go to the live Razorpay environment and get the credentials with the same steps we
mentioned above. For example:
- Credential 1
- Key: Client_id
- Value: {your Client_id}
- Credential 2
- Key: Client_Secret
- Value: {your Client_Secret}
- Credential 1
- Add these credentials to ChargeOn, and now your data is ready for the live environment
Post deployment, perform controlled production testing to validate end-to-end payment processing before enabling the solution for live users.
With this, your Razorpay payment gateway integration with Salesforce is successful using ChargeOn.
In case you face any challenges or errors during this setup, please reach out to our ChargeOn experts, who will assist you.
Refer to our Salesforce Multi-Gateway Setup Guide for integrating multiple payment gateways and optimizing your Salesforce payment integration. This eliminates the dependency on a single vendor.
Apart from Razorpay, ChargeOn supports other widely used global payment gateways, including: