
Braintree Salesforce integration challenges
- To integrate Braintree with Salesforce, business teams rely on custom APIs, which require manual setup. This might also leave data loosely integrated between the two platforms, breaking the sync.
- Manual integration creates a vendor dependency.
- Payment data sits in Braintree, while customer lifecycle and sales data live in Salesforce. This results in fragmented data.
- Your finance and sales teams often rely on separate reports and manual reconciliation.
- Your teams have to switch platforms between Salesforce and the Braintree Control Panel dashboard.
- Braintree supports multiple payment methods, such as cards, PayPal, and Venmo, under a single account. ACH, in particular, needs separate manual activation before it can be used.
- Sandbox and production run on separate credentials and separate endpoints, so every environment switch means manually re-entering keys and re-verifying the connection.
With ChargeOn, all these challenges are eliminated!
How does ChargeOn resolve Braintree Salesforce integration challenges?
ChargeOn is a 100% Salesforce native payment processor and orchestration tool supported by Agentforce. It offers a centralized view of all your payments in Salesforce, bringing data from Braintree and Salesforce together.
ChargeOn provides prebuilt flows for one-time and recurring payments, reminders, retries, and payment links. Additionally, it offers tokenization, PCI DSS-compliant processing, and secure data flows with a failover backup mechanism.
Step-by-step Braintree Integration with Salesforce using ChargeOn
This guide helps you in:
- Assigning appropriate permissions to relevant users
- Configure and set up ChargeOn
Note: Screenshots and details may differ based on your gateway version.
Create Your Braintree Sandbox Account
Before connecting Braintree to ChargeOn, you need a sandbox account to test the integration safely
Technical Steps Start Here
Step 1: Sign up for a sandbox account
- Visit the Braintree sandbox signup page
- Enter your business details
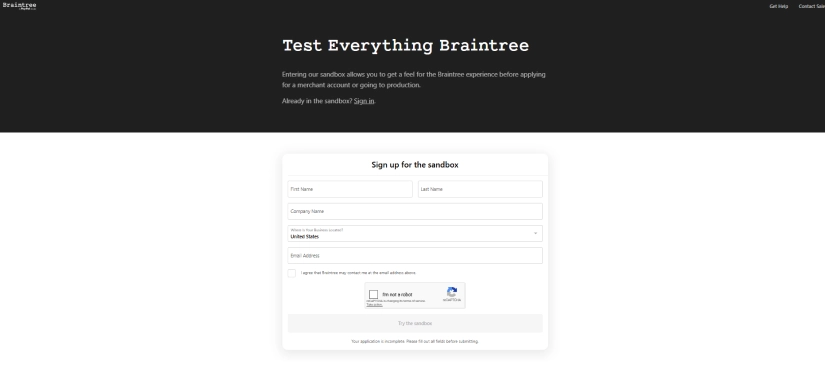
Step 2: Activate your account
- Open the confirmation email
- Click the activation link to continue setup
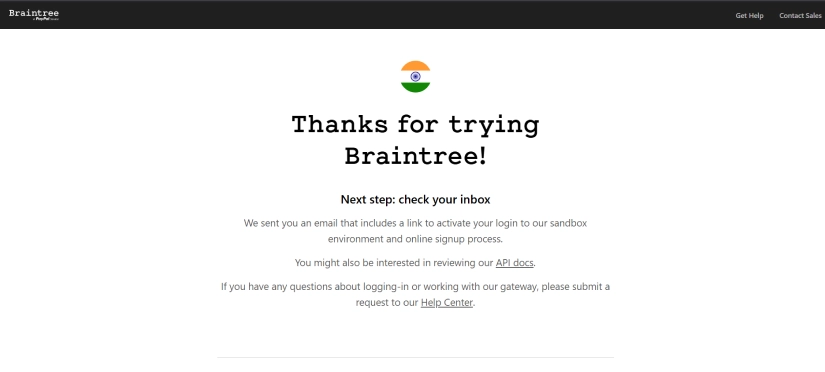
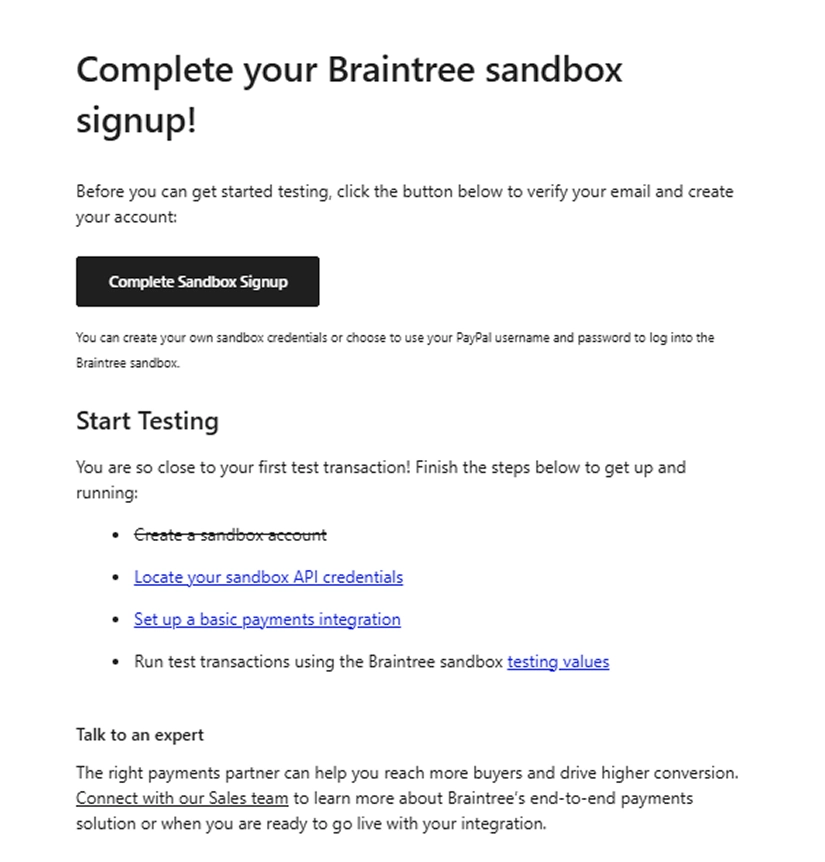
Step 3: Complete your signup
- Open the confirmation page
- Click Complete Sandbox Signup to verify your email
- Finish creating your account
Step 4: Log in to your sandbox
- Choose a username and password
- If you already have your existing PayPal credentials, you can use the same
- This takes you straight to the Braintree Dashboard
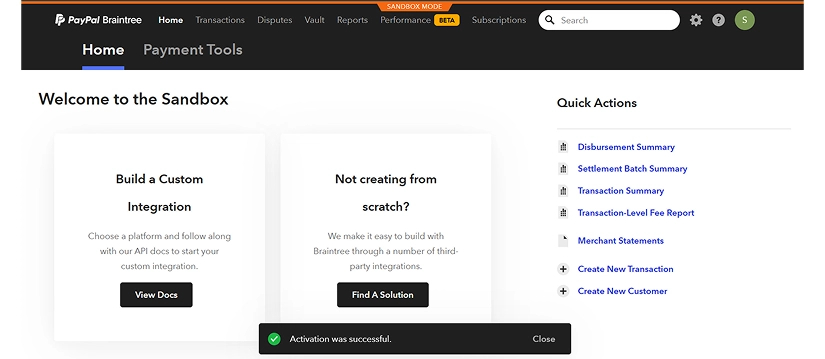
Once you are in the dashboard, you are ready to collect the credentials ChargeOn needs
Collect Your Braintree API Credentials
- From the Braintree Dashboard, go to the top navigation
- Select API
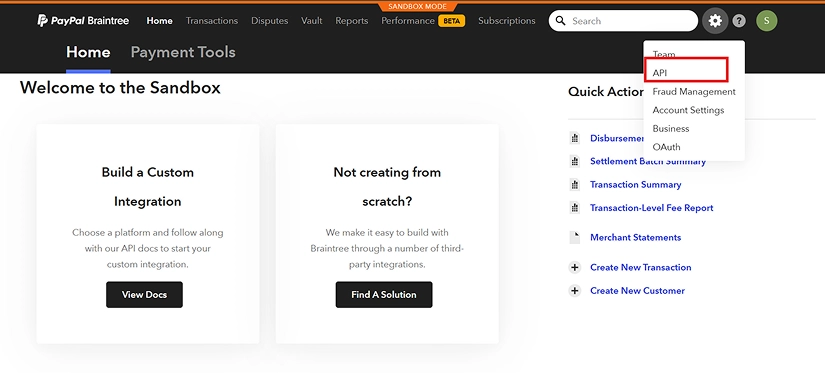
Under the Keys tab, you will find your Client Library Key, which includes:
- Public Key
- Private Key
- Environment (sandbox or production)
- Merchant ID
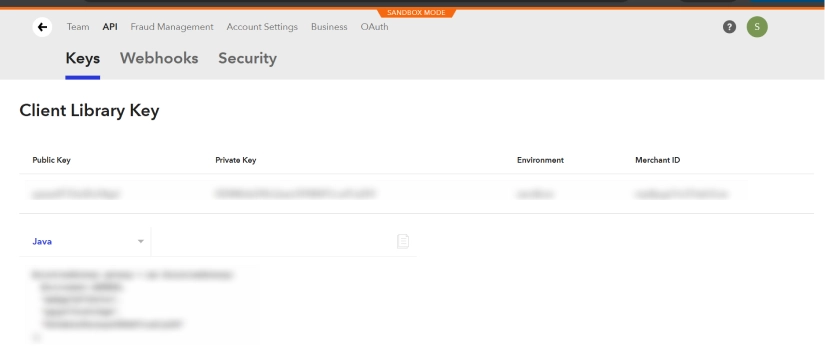
Keep these details handy. You will enter them while setting up the Braintree gateway record in ChargeOn
Create Your Braintree Gateway Record in Salesforce
With the required credentials, you can now set up Braintree as a payment gateway inside ChargeOn.
- Click on the App Launcher (9-dot icon)
- Search for ChargeOn.
- Select it to open the application.
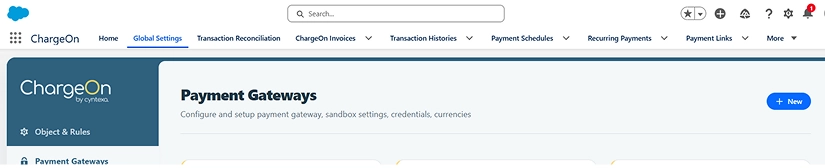
- From the ChargeOn navigation bar, open Global Settings.
- Click New to create a Payment Gateway record.
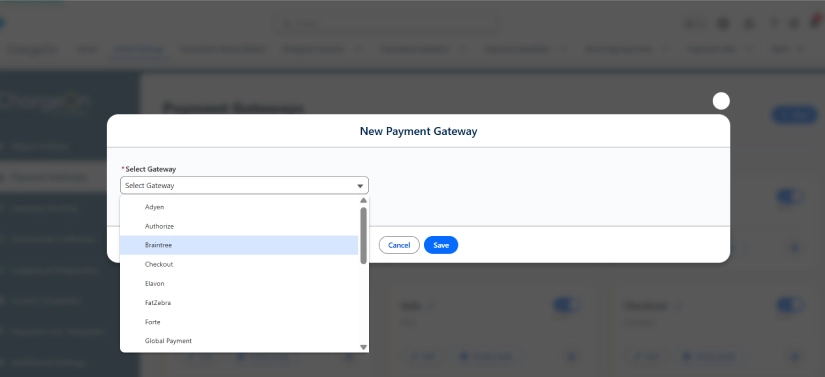
- Under Select Gateway, choose Braintree from the dropdown.
- Under Select Payment Method, move these options from Available to Selected:
- Instant
- Schedule
- Recurring
This tells ChargeOn how payments through Braintree can be processed as one-time charges, scheduled payments, or recurring billing.
- Under Select Payment Types, move these options from Available to Selected:
- Card
- ACH
- Link
This activates the payment types Braintree will accept through ChargeOn
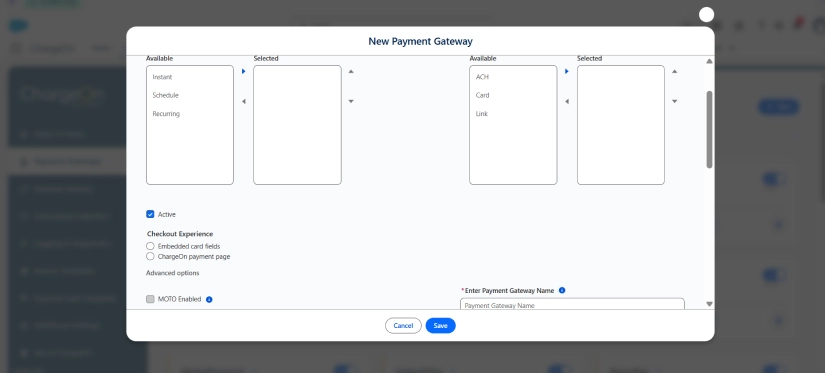
- Fill in the following fields:
- Payment Gateway Name: any name you choose
- Default Currency: USD (see Braintree's full list of supported currencies)
- The supported currencies: USD
- Base URI: https://payments.sandbox.braintree-api.com/graphql
- Minimum Charge: $1
Note: Use the sandbox URL above while testing. Once you're ready to go live, switch this to Braintree's production URL
Step 7: Add your gateway credentials
- In the Gateway Credentials section, add the following as key-value pairs:
- Credential
- Key: public_key
- Value: {your public_key}
- Key: private_key
- Value: {your private_id}
- Credential
Step 8: Save and review
Double-check every field, then click Save. Your Braintree gateway is now configured and ready to use in Salesforce with ChargeOn.
Test Your Integration in a Salesforce Sandbox
Once your gateway is set up, it is mandatory to run a test transaction before going live. The easiest way to do this is through a Braintree payment link, using either a credit card or a bank account.
- Select Braintree as your payment gateway to start the process.
- Choose Card or ACH as your payment method.
- Pick a payment mode: instant, scheduled, or recurring.
- Enter basic details, like payee name, email, and payment amount.
- Click the Charge button to submit the payment.
The system securely auto-deducts the amount from the card details entered. If you've chosen a payment link instead, it's sent to the customer's email so they can complete payment on their own.
Either way, the customer gets an automatic confirmation email when the payment goes through, and every transaction is saved directly in Salesforce for tracking and reporting.
Go Live in Production
Once testing in the sandbox is complete, you are ready to move your configuration into the live environment:
Step 1: Register for a live account
If you haven't already, contact Braintree's Sales Team to set one up
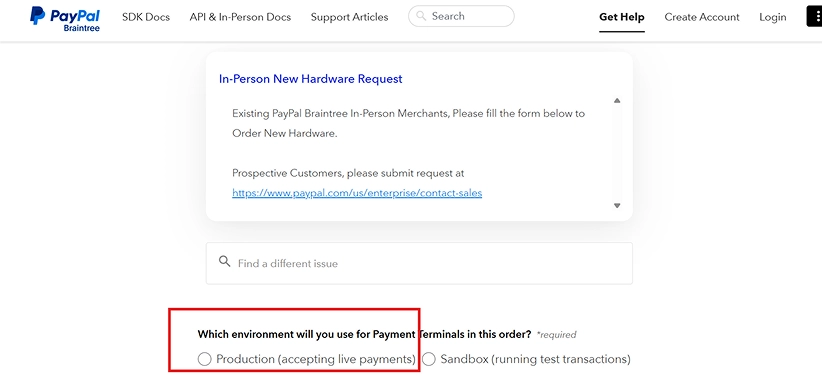
Step 2: Get your live credentials
Follow the same steps you used for the sandbox, but this time inside your live Braintree environment:
- Credential
- Key: public_key
- Value: {your public_key}
- Key: private_key
- Value: {your private_id}
Step 3: Add these credentials to ChargeOn
Your setup is now ready to process live payments
Note: If you're accepting Card-not-present payments directly through Braintree's API or SDK, Braintree runs you through a short validation process to confirm everything's set up correctly
If you're using Recurring Payments, they will also provide a checklist to verify that your integration is receiving the correct API responses
Post-deployment, perform controlled production testing to validate end-to-end payment processing before enabling the solution for live users
With this, your Braintree integration with Salesforce is successful using ChargeOn.

Refer to our Salesforce Multi-Gateway Setup Guide for integrating multiple payment gateways and optimizing your Salesforce payment integration. This eliminates the dependency on a single vendor.
Apart from Braintree, ChargeOn supports other widely used gateways, including: